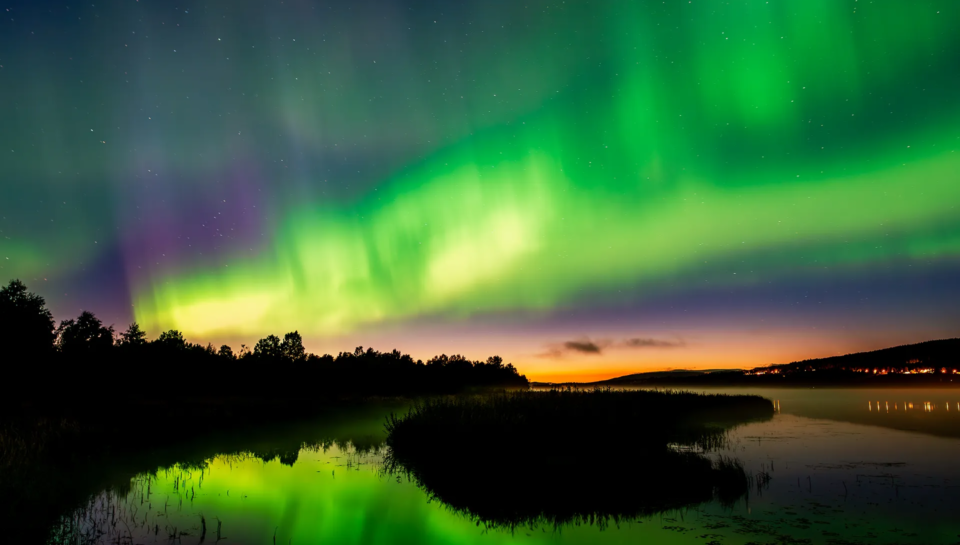
Does this sound familiar? You’re standing in the middle of a breathtaking landscape. A seemingly endless sky stretches out before you, and the light of the setting sun bathes the scene in a warm play of colors. You raise your camera, frame the shot, press the shutter button—and the result? Either too dark, too bright, or somehow just not quite how you saw it there.
Why is that? It’s simple: your camera’s sensor didn’t know how you wanted to capture the light or the mood. It’s no coincidence that they say light is the essence of photography. It shapes your image, gives it atmosphere, and lends it depth.
But for your camera to capture the light the way you want it, you need control—and that’s exactly where the exposure triangle comes into play.
In this post, I’ll explain how the exposure triangle works and show you a few practical examples. Ready? Then let’s dive in together!
What Is the Exposure Triangle?
Three simple settings determine how much light hits your camera’s sensor:
- Aperture – a variable-sized opening in the lens that controls how much light is let in.
- Shutter Speed – the length of time the sensor captures light.
- ISO – the sensor’s sensitivity to light.
Think of the exposure triangle as a seesaw… well, one for three people, so my analogy works 😉 If one setting changes, another may need to be adjusted to maintain the balance—that is, the correct or desired exposure.
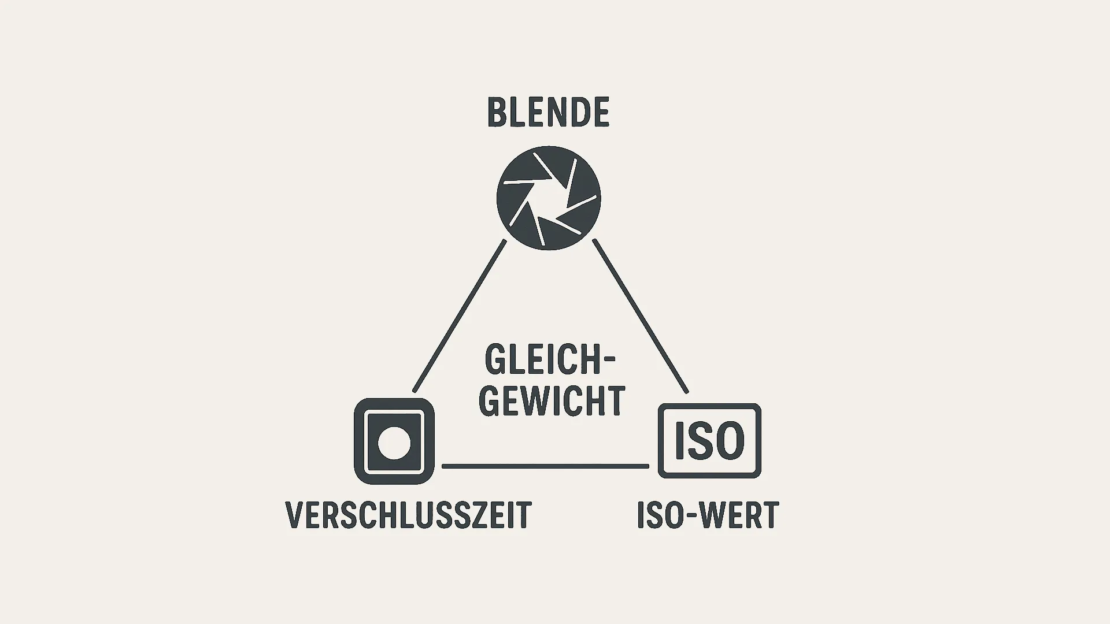
Sometimes, however, a certain “overweight” on one of the three adjustment levers is actually desirable—for example, when you want the image to have a brighter or darker look.
The exposure triangle is best explained using practical examples.
1. The Aperture—Your Gateway to Light
Imagine a water pipe. The aperture is the faucet. If you turn it wide open (small f-number, e.g., f/1.8), a lot of water flows through—or in our case, light. If you turn it almost all the way closed (large f-number, e.g., f/16), only a thin stream gets through.
How does the aperture affect your photo?
- Lots of light (small f-number, e.g., f/2.8) → Soft, blurred background (perfect for portraits)
- Low light (high f-number, e.g., f/11–f/16) → Wide depth of field from front to back (ideal for landscapes)
Practical example:
You want to photograph a spiderweb in the forest. But the background, with all the branches and plants, is distracting. So you open the aperture (e.g., f/5.6, f/2.8, or wider) to capture your subject in sharp focus while the background blurs into a soft bokeh.
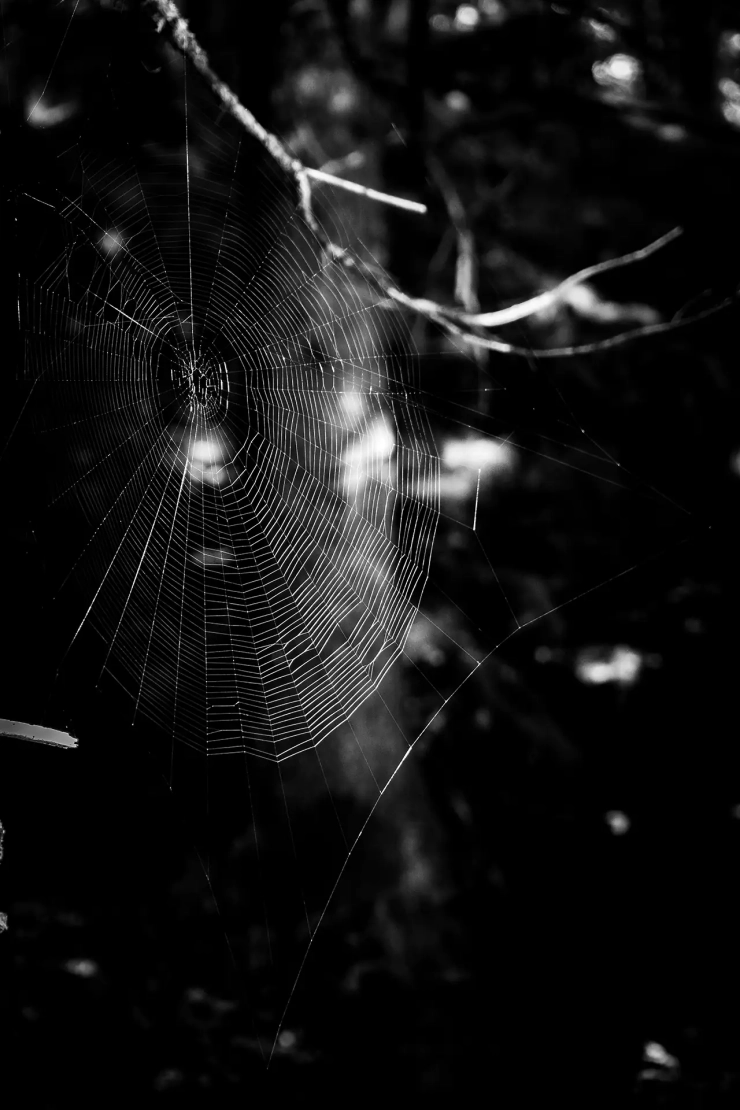
In the photo above, I didn’t open the aperture quite as wide as the lens would have allowed because the spider web was tilted slightly away from me, and I wanted to capture it as sharply as possible. If I had opened the aperture wider, part of the web would have been blurred.
Conversely: Are you photographing a mountain landscape and want both a foreground object and the peaks in the distance to be razor-sharp? Then you’ll need a smaller aperture (e.g., f/8, f/11, or higher).
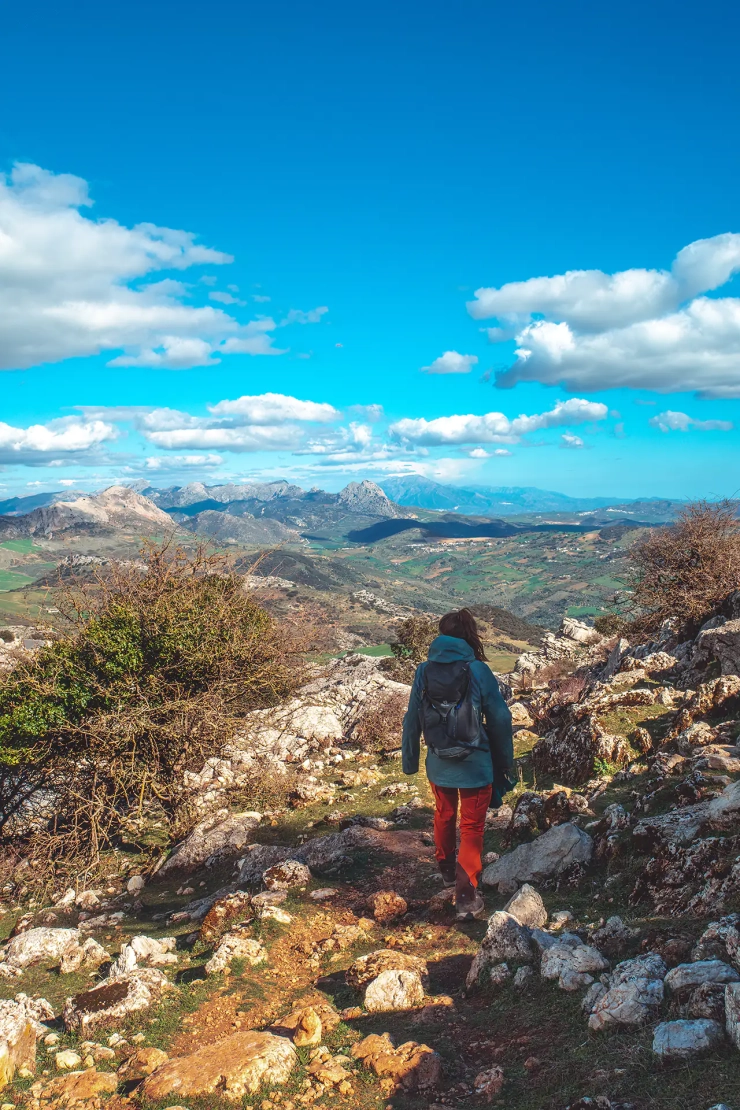
For this photo, I used my wife as the focus point and set the aperture to a relatively narrow setting (f/8) to ensure the depth of field in the image was as large as possible. The slightly out-of-focus mountains in the background give the image a certain sense of depth.
One more quick tip: A wide aperture (low f-number) means that a lot of light hits the sensor—so you may need to adjust the shutter speed or ISO setting to prevent the image from being overexposed! If you close the aperture, for example to f/16, significantly less light hits the sensor. In this case, you may need to increase the shutter speed or raise the ISO setting.
2. Shutter Speed—Your Sense of Time in Pictures
You can think of a camera’s shutter, roughly speaking, as being like your eyelids. You can open them for a very short time or for a longer period, for example. The shutter speed is essentially the counterpart to this and determines how long light hits the sensor. If the shutter is open only very briefly, little light enters. If you leave it open for a long time, a lot of light can enter.
How does the shutter speed affect your photo?
- Fast shutter speed (e.g., 1/1000 second or faster) → “Freezes” motion (ideal for sports or action)
- Long shutter speed (e.g., 1/30 second or slower) → Creates motion blur (e.g., flowing water)
Practical example:
You want to photograph a vehicle passing by quickly so that it looks as if it’s standing still. To do this, you need a fast shutter speed (e.g., 1/1000 second or faster).
In this example, it actually looks as though the two had stopped briefly on the beach to enjoy the view of the ocean. In reality, however, they were moving quite quickly. With a shutter speed of 1/3200 second, though, that wasn’t a problem.

It’s a different story when you’re photographing a waterfall and want it to look flowing and smooth. In that case, you’ll use a slow shutter speed (e.g., 1 second)—but be careful: You’ll need a very steady hand, a good image stabilizer, or a tripod, otherwise the photo will be blurry!
Unfortunately, I don’t have a waterfall on hand, but the following photo illustrates this point quite well.
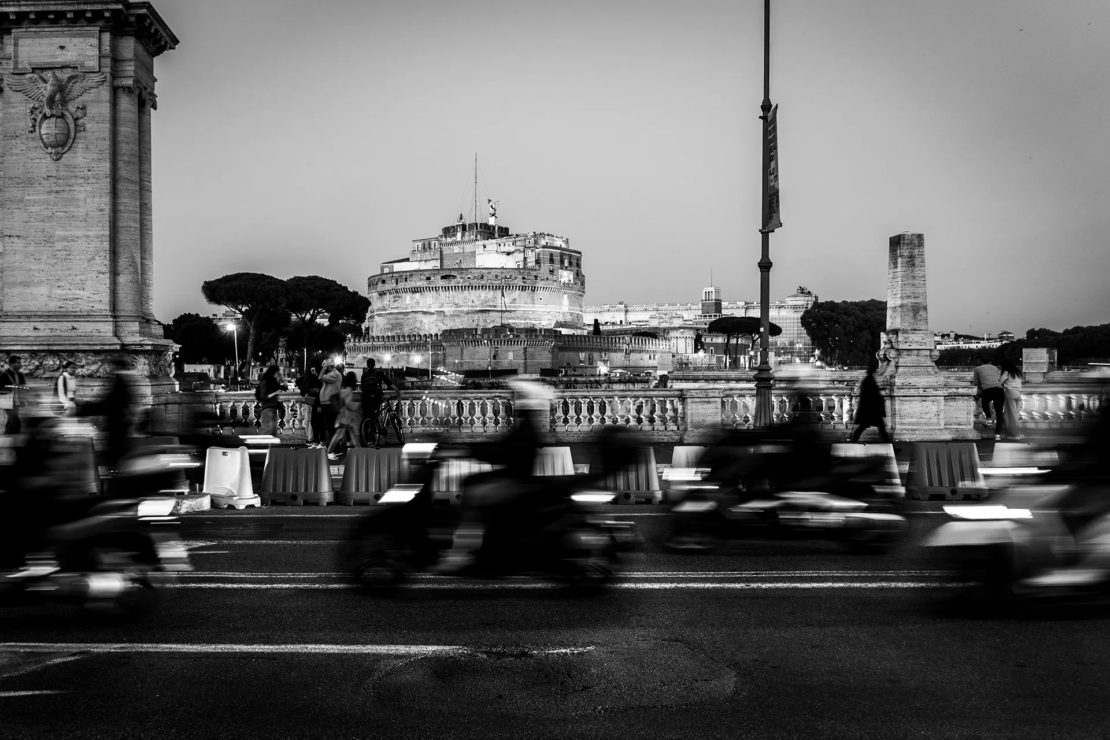
I used the longer shutter speed to capture the hustle and bustle on the streets of Rome. It always feels like rush hour there, and with a long shutter speed, the scooter riders zooming by blur, making our brains perceive movement.
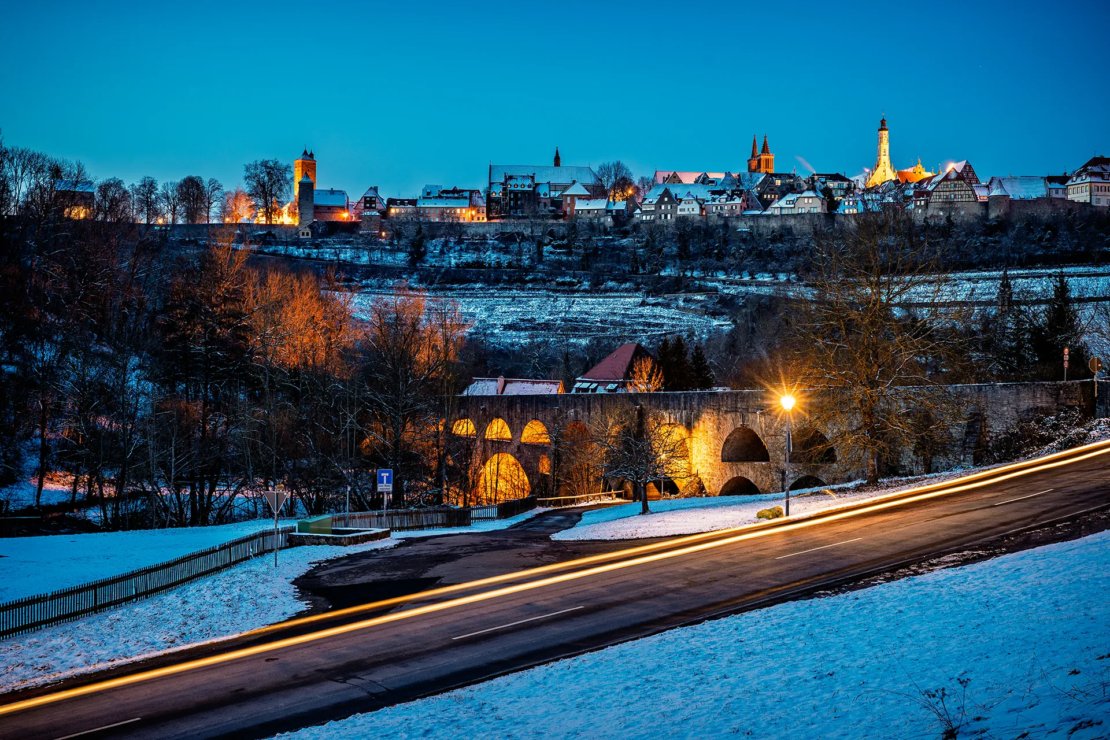
Another example of longer shutter speeds is this long exposure I took in the evening just outside the gates of Rothenburg. My goal was to capture the panorama of the old town, while a passing car in the foreground is visible only as a trail of light.
3. The ISO Value—Your Savior in the Dark (With Side Effects)
ISO controls how sensitive your sensor is to light. A low ISO value (e.g., ISO 100) means low sensitivity, while a high number (e.g., ISO 6400) amplifies the light signal—but there’s a catch: the image starts to get noisy!
How does the ISO setting affect your image?
- Low ISO value (e.g., ISO 100–400) → Clear, noise-free images (ideal in daylight)
- High ISO value (e.g., ISO 1600–6400) → Brightness increases, but image noise also increases (night photography)
Practical example:
You’re standing in the middle of a beautifully lit old town and want to take a picture of the scene. It’s dark, and a flash would be distracting. So you increase the ISO setting to brighten the image. It works—but you notice that your photo looks a bit “grainy.” That’s the noise that comes with a higher ISO setting. It might look something like this:
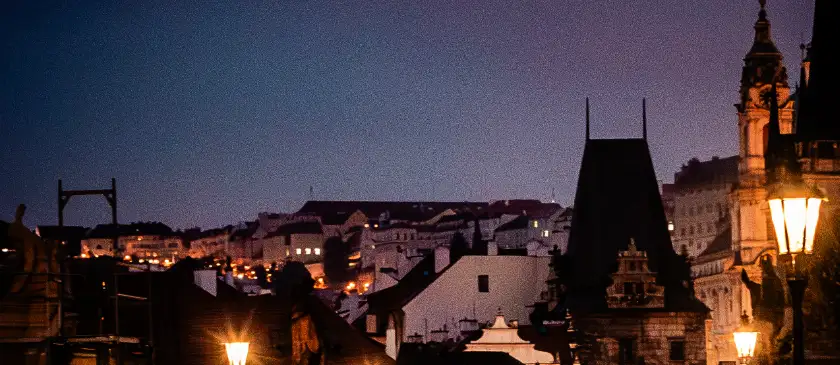
Therefore: Only set the ISO value high if there’s no other option. It’s better to experiment with aperture and shutter speed first! While there are now many good ways to minimize image noise during post-processing on a computer, severe noise can also cause image information to be lost—information that (as of this post’s publication) cannot be recovered. A wall with a distinctive texture could end up looking as smooth as a sheet of plastic after so-called noise reduction.
The Interplay—How the Exposure Triangle Works in Practice
Now it gets interesting: How do you combine aperture, shutter speed, and ISO correctly?
Scenario 1 – Blurred Background:
You want to take an atmospheric photo with a blurred background. To do this, follow these steps:
✅ Open the aperture wide (e.g., f/2.8)
✅ Keep the ISO as low as possible (e.g., ISO 100)
✅ Choose a shutter speed that prevents blur (at least 1/125 second)
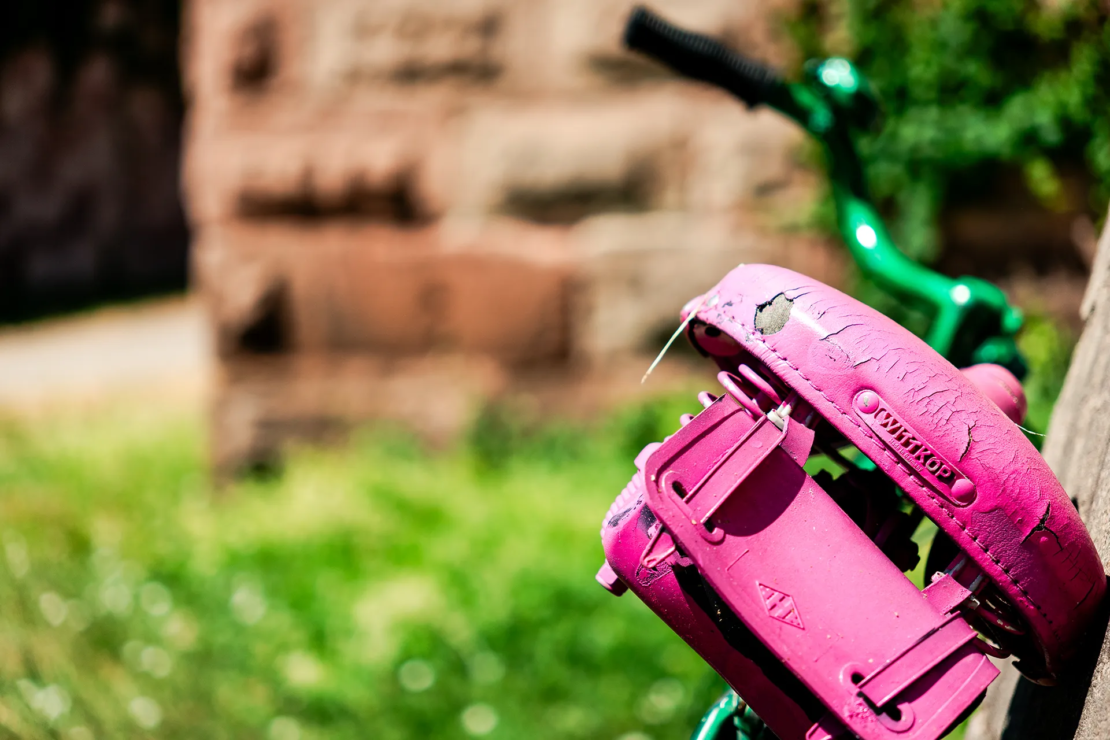
If the image turns out too bright, you’ll either need to close the aperture a bit—though this will make the background sharper—or choose faster shutter speeds, such as 1/3200 sec. Just try out a few faster shutter speeds and compare the results. If the image is still overexposed, there’s most likely too much ambient light (e.g., strong sunlight). If you’ve exhausted your camera’s technical capabilities, an ND filter might help. It works like a pair of sunglasses for your lens. If the image becomes too dark, you can either open the aperture further (if possible), increase the shutter speed, or raise the ISO setting.
Scenario 2 – Motion:
Want to capture “motion” in your photos? Then try these settings:
✅ Medium / Small aperture (f/4 – f/16)
✅ ISO 100
✅ Slow shutter speed (1/60 second or longer) – a tripod may be required!
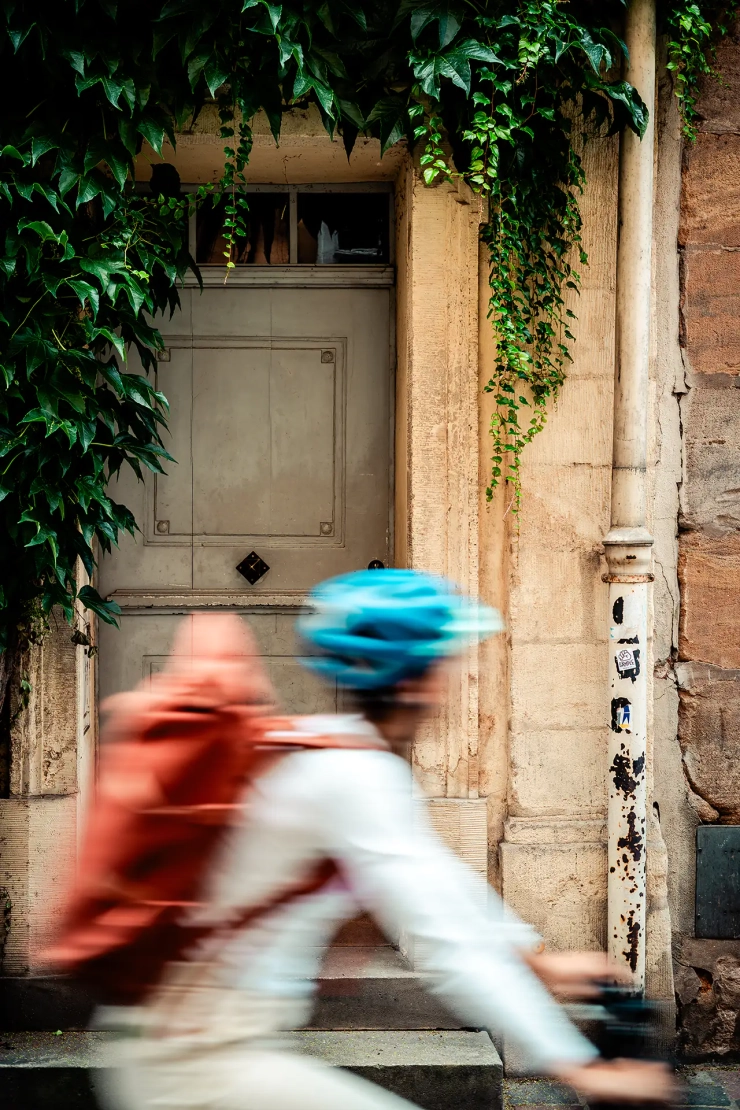
Again, if the image turns out too bright, you should experiment a bit with the settings. However, since the motion is supposed to be blurred, you can’t choose a faster shutter speed. Therefore, you’ll need to either close the aperture further (e.g., f/8) or, if that doesn’t help, use an ND filter here as well. If, on the other hand, the image is too dark, you can even set the shutter speed a bit longer.
Scenario 3 – Long Exposure:
Grab a tripod and find a nice setting. To capture the light properly, you can use these settings, for example:
✅ You can basically set the aperture however you like. Wide open (e.g., f/2.8) for blurred foregrounds or backgrounds, or narrower (e.g., f/11) for landscapes.
✅ ISO 100
✅ Longer shutter speed (1 second or longer)
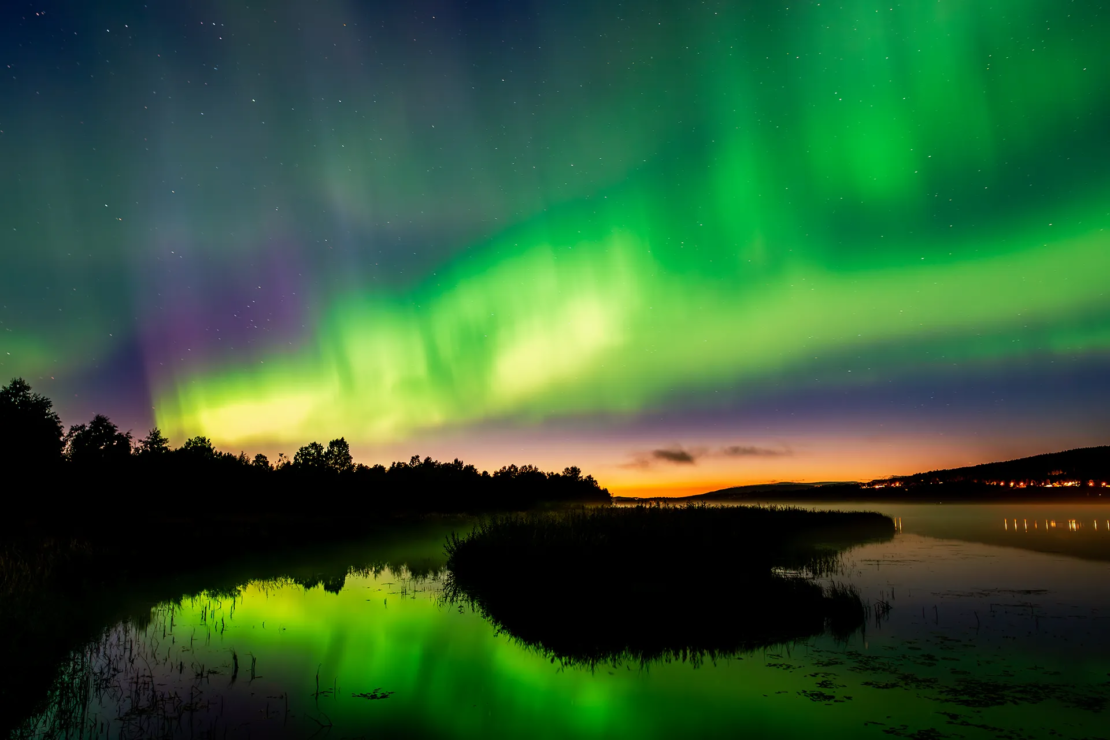
Since it was already quite dark and I didn’t want to expose for longer than 30 seconds, I opened the aperture quite wide. If I had opened it any wider, some areas in the foreground of the image might have become too blurry. Fortunately, f/2.8 worked quite well, even though I had to brighten a few dark areas a bit during post-processing.
You might also be interested in this: Photographing the Northern Lights for the First Time
Your Next Step
The exposure triangle is a tool that lets you take control of your photos. The more you experiment with it, the more intuitively you’ll be able to use it.
My tip: Get out there and experiment! Set yourself small challenges:
- Photograph moving subjects with different shutter speeds.
- Change the aperture and observe how the depth of field changes.
- Play around with the ISO setting in low-light environments.
Each camera setting is like a knob on a mixing console, and you can adjust them to get the look you want in your photos. And the best part? The more you practice, the more fun it gets!
–
I hope my post has been helpful and maybe even answered a few of your questions. Feel free to let me know in the comments.